Showing posts with label Bright Idea. Show all posts

Bright Idea: Washi Tape Trick!


Are you ready for the simplest Bright Idea ever?
It is SO simple, yet it will bring you forever happiness.

Raise your hand if you enjoy super sharp permanent markers...

{it's the little things in life, my friends}


See that piece of Washi Tape at the end of my marker?  That's the trick.

I have about 985972 Sharpies in my classroom, but not all of them are sharp!  Whenever I get out a new permanent marker from my hoarding collection supply, I wrap a piece of Washi Tape around the end.  When I have a job that requires a super sharp Sharpie, I simply grab the marker that has been Washi Taped!  When that marker is no longer super sharp, I pull off the tape and Washi Tape a new one.  Easy as that.  

Do you feel enlightened? :)

Do you have an amazing trick for Washi Tape?  Share in the comments below!
I am planning on a Washi Tape post soon!

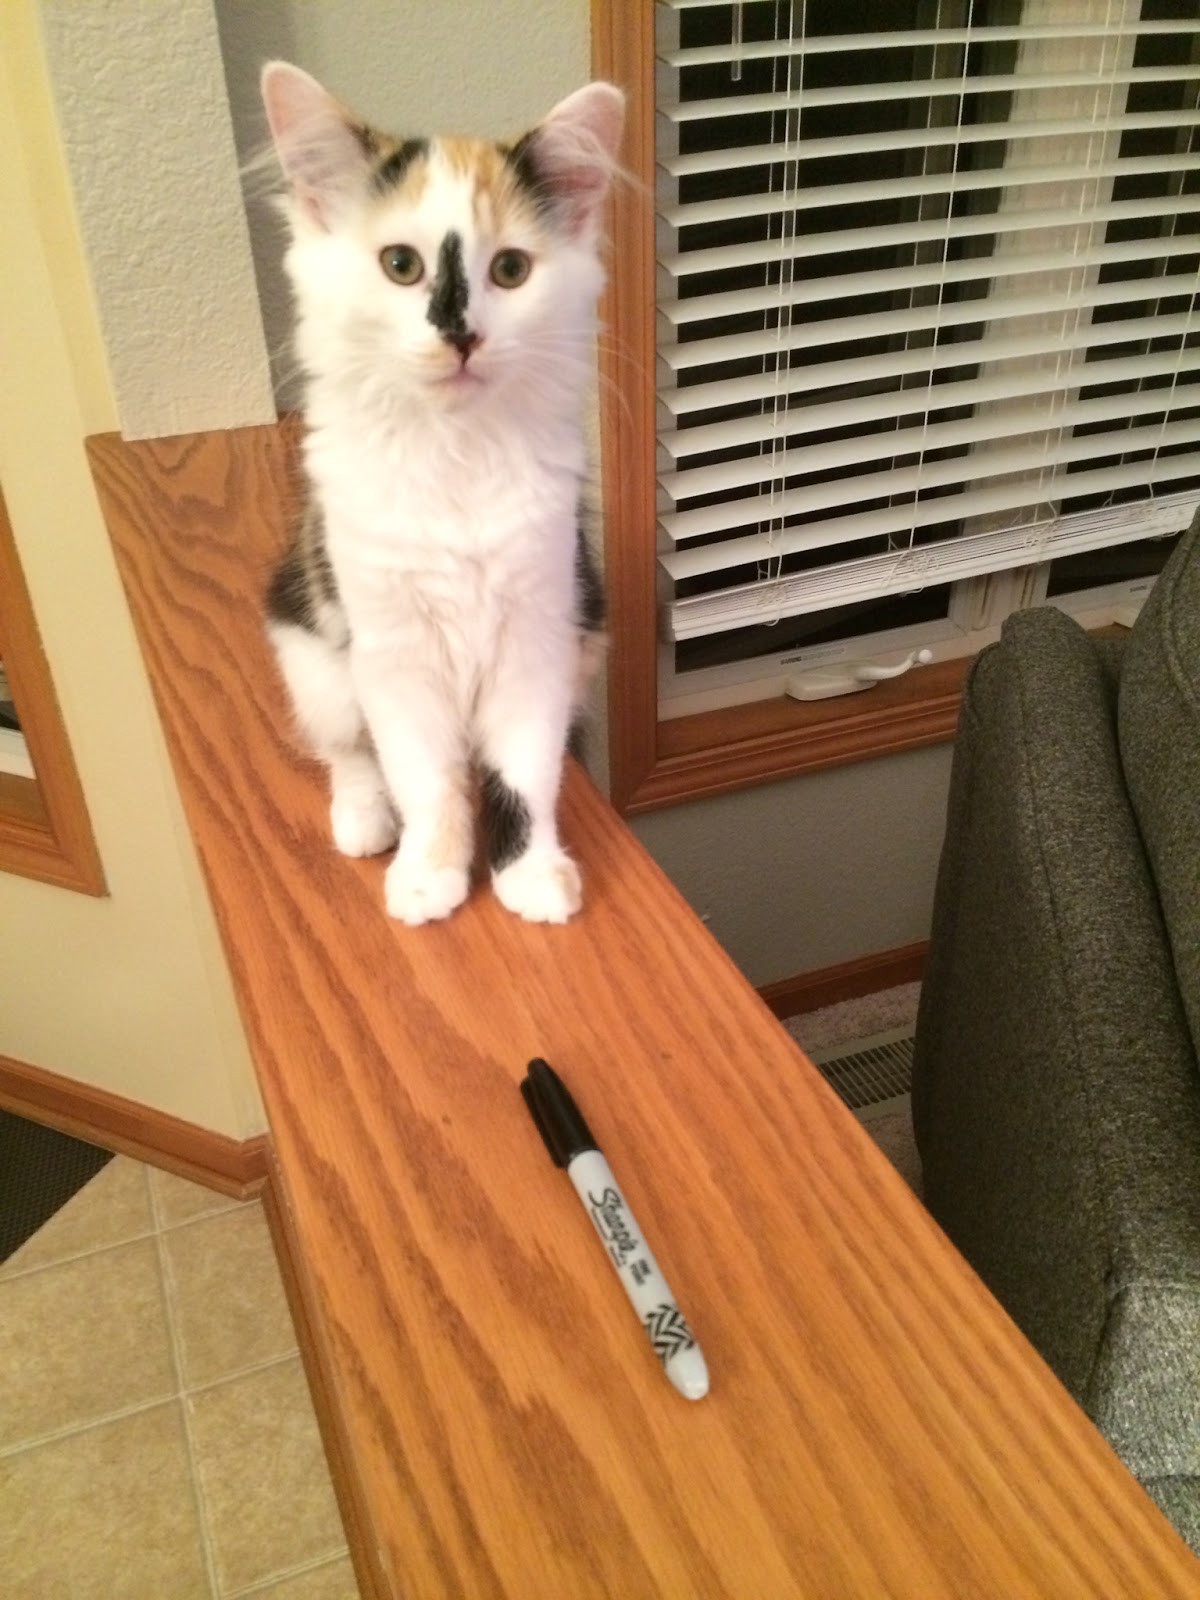
PS: Here is an outtake from my Washi Tape photo shoot...


If you liked this Bright Idea, please consider joining me at FacebookTPT, or Pinterest.

Visit the link-up below for MANY more Bright Ideas!


6

Bright Idea: Shaving Cream Snowmen!


I'm excited to be able to share another bright idea with you today!  I absolutely loved reading everyone's bright ideas during the last blog hop!  You can read my post from last month about using a Super Improver Wall to motivate your students {here}.

Today, I am sharing one of my favorite integrated art projects that I use in my classroom every year: Shaving Cream Snowmen!  It is always a favorite!  It feels strange blogging about snowmen in March, but here in Ohio, we still have plenty of snow on the ground.  In fact, we have already missed 12 days of school due to snow... what a winter!


In my 2nd grade classroom, I use this project with the book Snowmen At Night by Caralyn Buehner.  It is an adorable story about the adventures snowmen have while children are sleeping.  First, we make the shaving cream snowmen art project.  Then, students write their own versions of the story.  We glue their writing onto the 11 X 18 paper next to their snowman.  One year, I photographed each snowman and recorded students' voices reading their stories.  I turned the photographs and recordings into an iMovie and posted it on my classroom website... students and parents loved it!  

Here is what you will need to create the shaving cream snow:

1) 2 bottles of shaving cream {I use the cheap kind from the Dollar Store... 2 bottles is plenty for 25 students}
2) 2-3 bottles of Elmer's glue
3) Construction paper for the background
4) Items for snowman accessories: construction paper, sequins, beads, glitter...

Here are the steps I use:

1) Dump colored construction paper all over the floor!  Ask students to create their snowman accessories (hat, scarf, arms, nose).  We use sequins for buttons, eyes, and the mouth, so students do not need to create those out of paper.
2) Call students back to the guided reading table in small groups for snowman creation time
3) Fill a bowl with shaving cream.  Squeeze in a bottle of Elmer's glue and fluff up the mixture with a spoon.  As the mixture gets low, squeeze in more shaving cream and glue.  There is not really an exact science to the the recipe... I just try to use equal parts and fluff it up while students work! 
4) Show students how to spread the snow out onto their papers with the back of a spoon.  While the snow is wet, have students press in their accessories and sequins/beads.  Students might need to use a glue stick to stick down any big pieces, such as their snowman's arms.
5) Sprinkle glitter into the snow while it's still wet.
6) Spread the art around the classroom for it to dry overnight!  The snow will lose a bit of its fluffiness when it drys, but it still looks great once it has dried!  

Here are some photographs of our creations this year!  We made our snowmen on one side of 11X18 paper so that we could add our writing on the other side.  I just love how they all turned out!


{Yup, that's a Minecraft snowman...}

{LOVE this photo!}

{This snowman is too cute... he kept growing and growing as she created him!}


{Oh look, a Creeper snowman... Minecraft is slightly popular in my classroom right now!}

If you've had enough snow for this school year, you could easily adapt this project for spring and use the same recipe to have students create shamrocks, bunnies, or flowers--just add some food coloring to the shaving cream!  Can you think of any other uses for this shaving cream and glue concoction?  Comment with your ideas!

If you are looking for more bright ideas, visit the next blog on this hop, written by The Extra Energetic Educator.  Click on the blog button below to read about EdModo and Test Prep!

The Extra Energetic Educator

Click on the link-ups below to see more Bright Ideas!


3

Whole Brain Teaching: Using a Super Improver Wall to Motivate Students

As a classroom teacher, the Super Improver Wall is one of my favorite ways to motivate students and build a positive classroom culture.  I first learned about the Super Improver Wall at the Whole Brain Teaching midwest conference.  You can read more about what I learned at the conference {here}.  The WBT website has a lot of great ideas about how to use the Wall.  Of course, I have tweaked and adapted the concept to work in my classroom!  This post will tell you all about how I use the Super Improver Wall to motivate my students and build a classroom community.  


I used a square pocket chart and construction paper squares to build my Super Improver Wall.  This is how the wall looks at the beginning of the school year-- all of the students have white cards.  The concept of the wall is that as students make improvements, they move up through the colors on the chart.  My students use a star hole puncher to punch a hole in their card.  Once they have five hole punches, they move up to the next card color.  Here is a close up of my colors and the names I have chosen for each level.


{Rookie, Learner, Leader, Captain, Rising Star, Pro, Expert, Genius, Superstar, Legend}

To add a star on their card, students need to show some sort of improvement-- either academic or behavioral.  I either verbally tell the student to "add a star" or I write "add a star!" on an improved paper.  Here are some of the ways students commonly get to add a star in my classroom:

-Improving their score on a particular content standard
-Improving handwriting
-Using an interesting vocabulary word in their writing
-Doing a random act of kindness
-Improving classroom behavior
-Improving their score on a benchmark assessment
-Reading a challenging book
-Completing challenge work
-Going above and beyond on an assignment
-And the list goes on!

The beauty of the Super Improver Wall is that you can tweak it throughout the year to meet your needs.  You can also personalize it to meet individual students' needs.  Last year, I offered small incentives when students moved to the next card color.  This year, the "reward" is completely intrinsic and the wall works even better!  Now, the students are less focused on a small prize and more focused on their own improvement AND the improvements of their peers!

During the first week of school, I drive home the concept that the wall is not a competition-- my second graders really seem to understand this.  When a student adds their 5th star and moves to the next card color, the classroom is at a standstill!  I don't say a word about it-- the students just notice and everyone starts clapping for the student!  It is truly amazing to see my students celebrate their peers.

Throughout the year, it's fun to spice up the Super Improver Wall levels.  For example, when students reach a specific color, you can add a fun celebration-- not a tangible prize, but something to make the student feel special.  I love to let the student stand on my guided reading table and have his or her peers give a standing ovation!  It's also fun to take a picture of the student and add it to the wall when they reach Super Star or Legend-- it would be neat to have pictures of previous years' legends up on the wall!  The sky's the limit!

My class had a great suggestion this year to add a classroom Super Improver card.  We pick a specific item we want to work on as a class and when we improve, we add a star to our classroom card.  We are currently working on packing up faster at the end of the day! {I hate snowsuit season!!!}

One thing I LOVE about the Super Improver Wall is that I have set it up so the students manage it themselves.  Under the wall, I have a desk that keeps all of the supplies.  I bought the construction paper squares from Michaels.  They came in a huge block of rainbow colors, so the student just tears off the color he or she needs from the block.  The silver and gold colors are scrapbook paper that I cut ahead of time.  On top of the desk, I keep a cup with the hole puncher and a permanent marker.  When students move to the next color, they simply grab the color that they need next, write their name, and place their new card in the chart.  I encourage students to take their old cards home to place on the refrigerator!

The picture below shows what our wall currently looks like {you can see that students really enjoy creating their own cards!} We are midway through the year.  As you can see, all of my students have made improvements, but they are not all on the same color.  I love the Super Improver concept because it gives attention to ALL students, instead of only focusing on the "high" students who receive a lot of praise and attention.


The Super Improver Wall has truly helped to build our classroom community!  Please let me know if you have any questions about implementing the wall in your own classroom!
13
Back to Top